
Have you ever wanted your own sticker album either for your planner or for your collection, but you aren’t sure where to start? Maybe you’ve actually thought about buying one but you just aren’t sure which one to get, especially considering their price..
But did you know, Sticker albums that you can buy are actually made in the exact same way you can at home? Well here at PikaKiraKuzu.com, I am going to teach you how to make your own QUALITY sticker book that will hold every type of sticker you can imagine.
All you need is:
- A binder
- Binder hole punch
- A form of sticker release paper (I’ll teach more about this below)
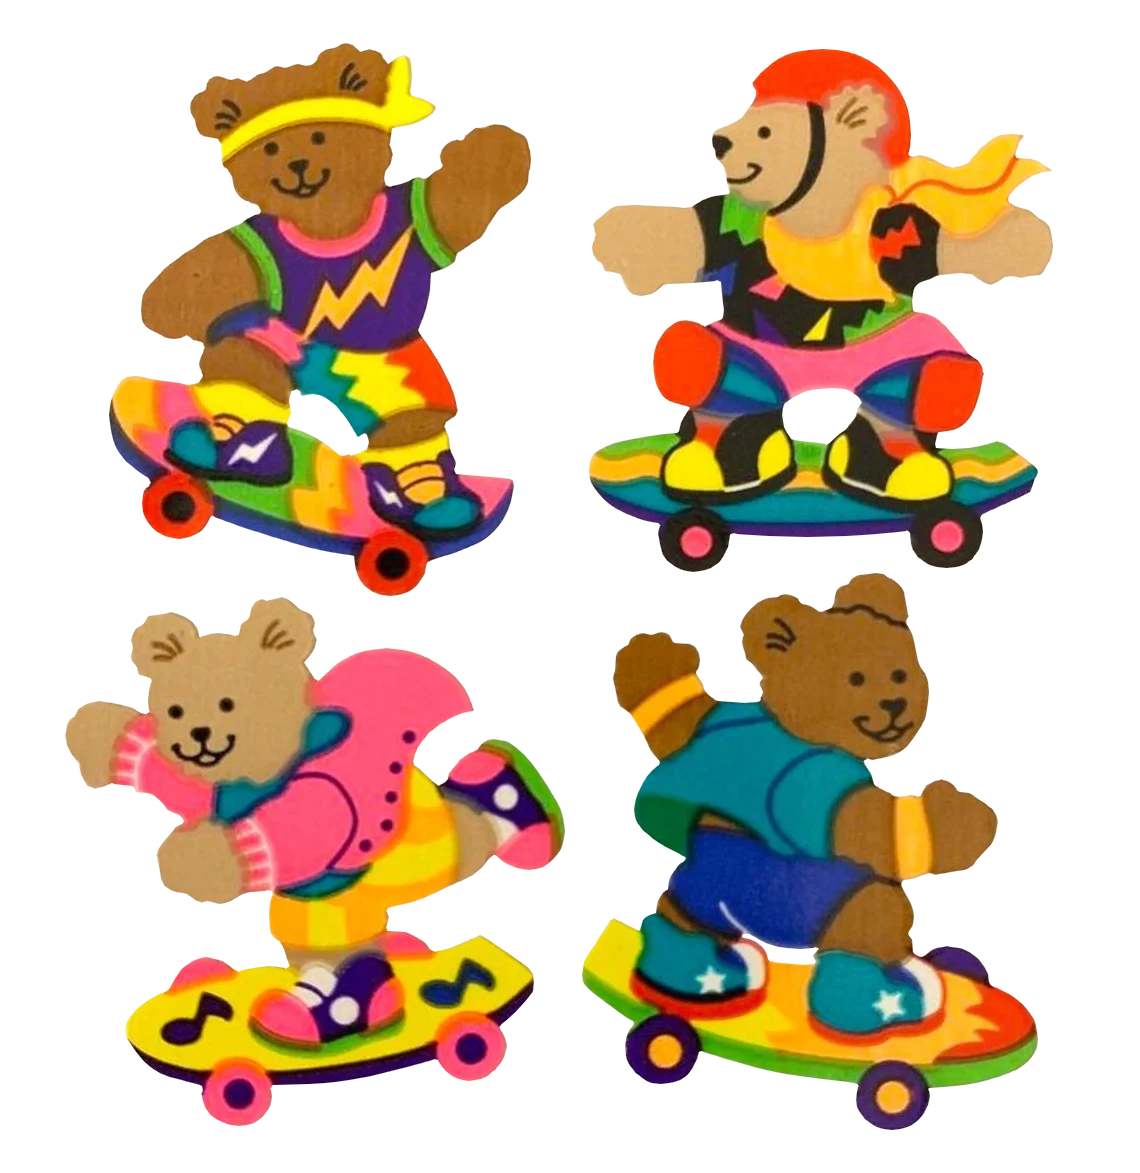
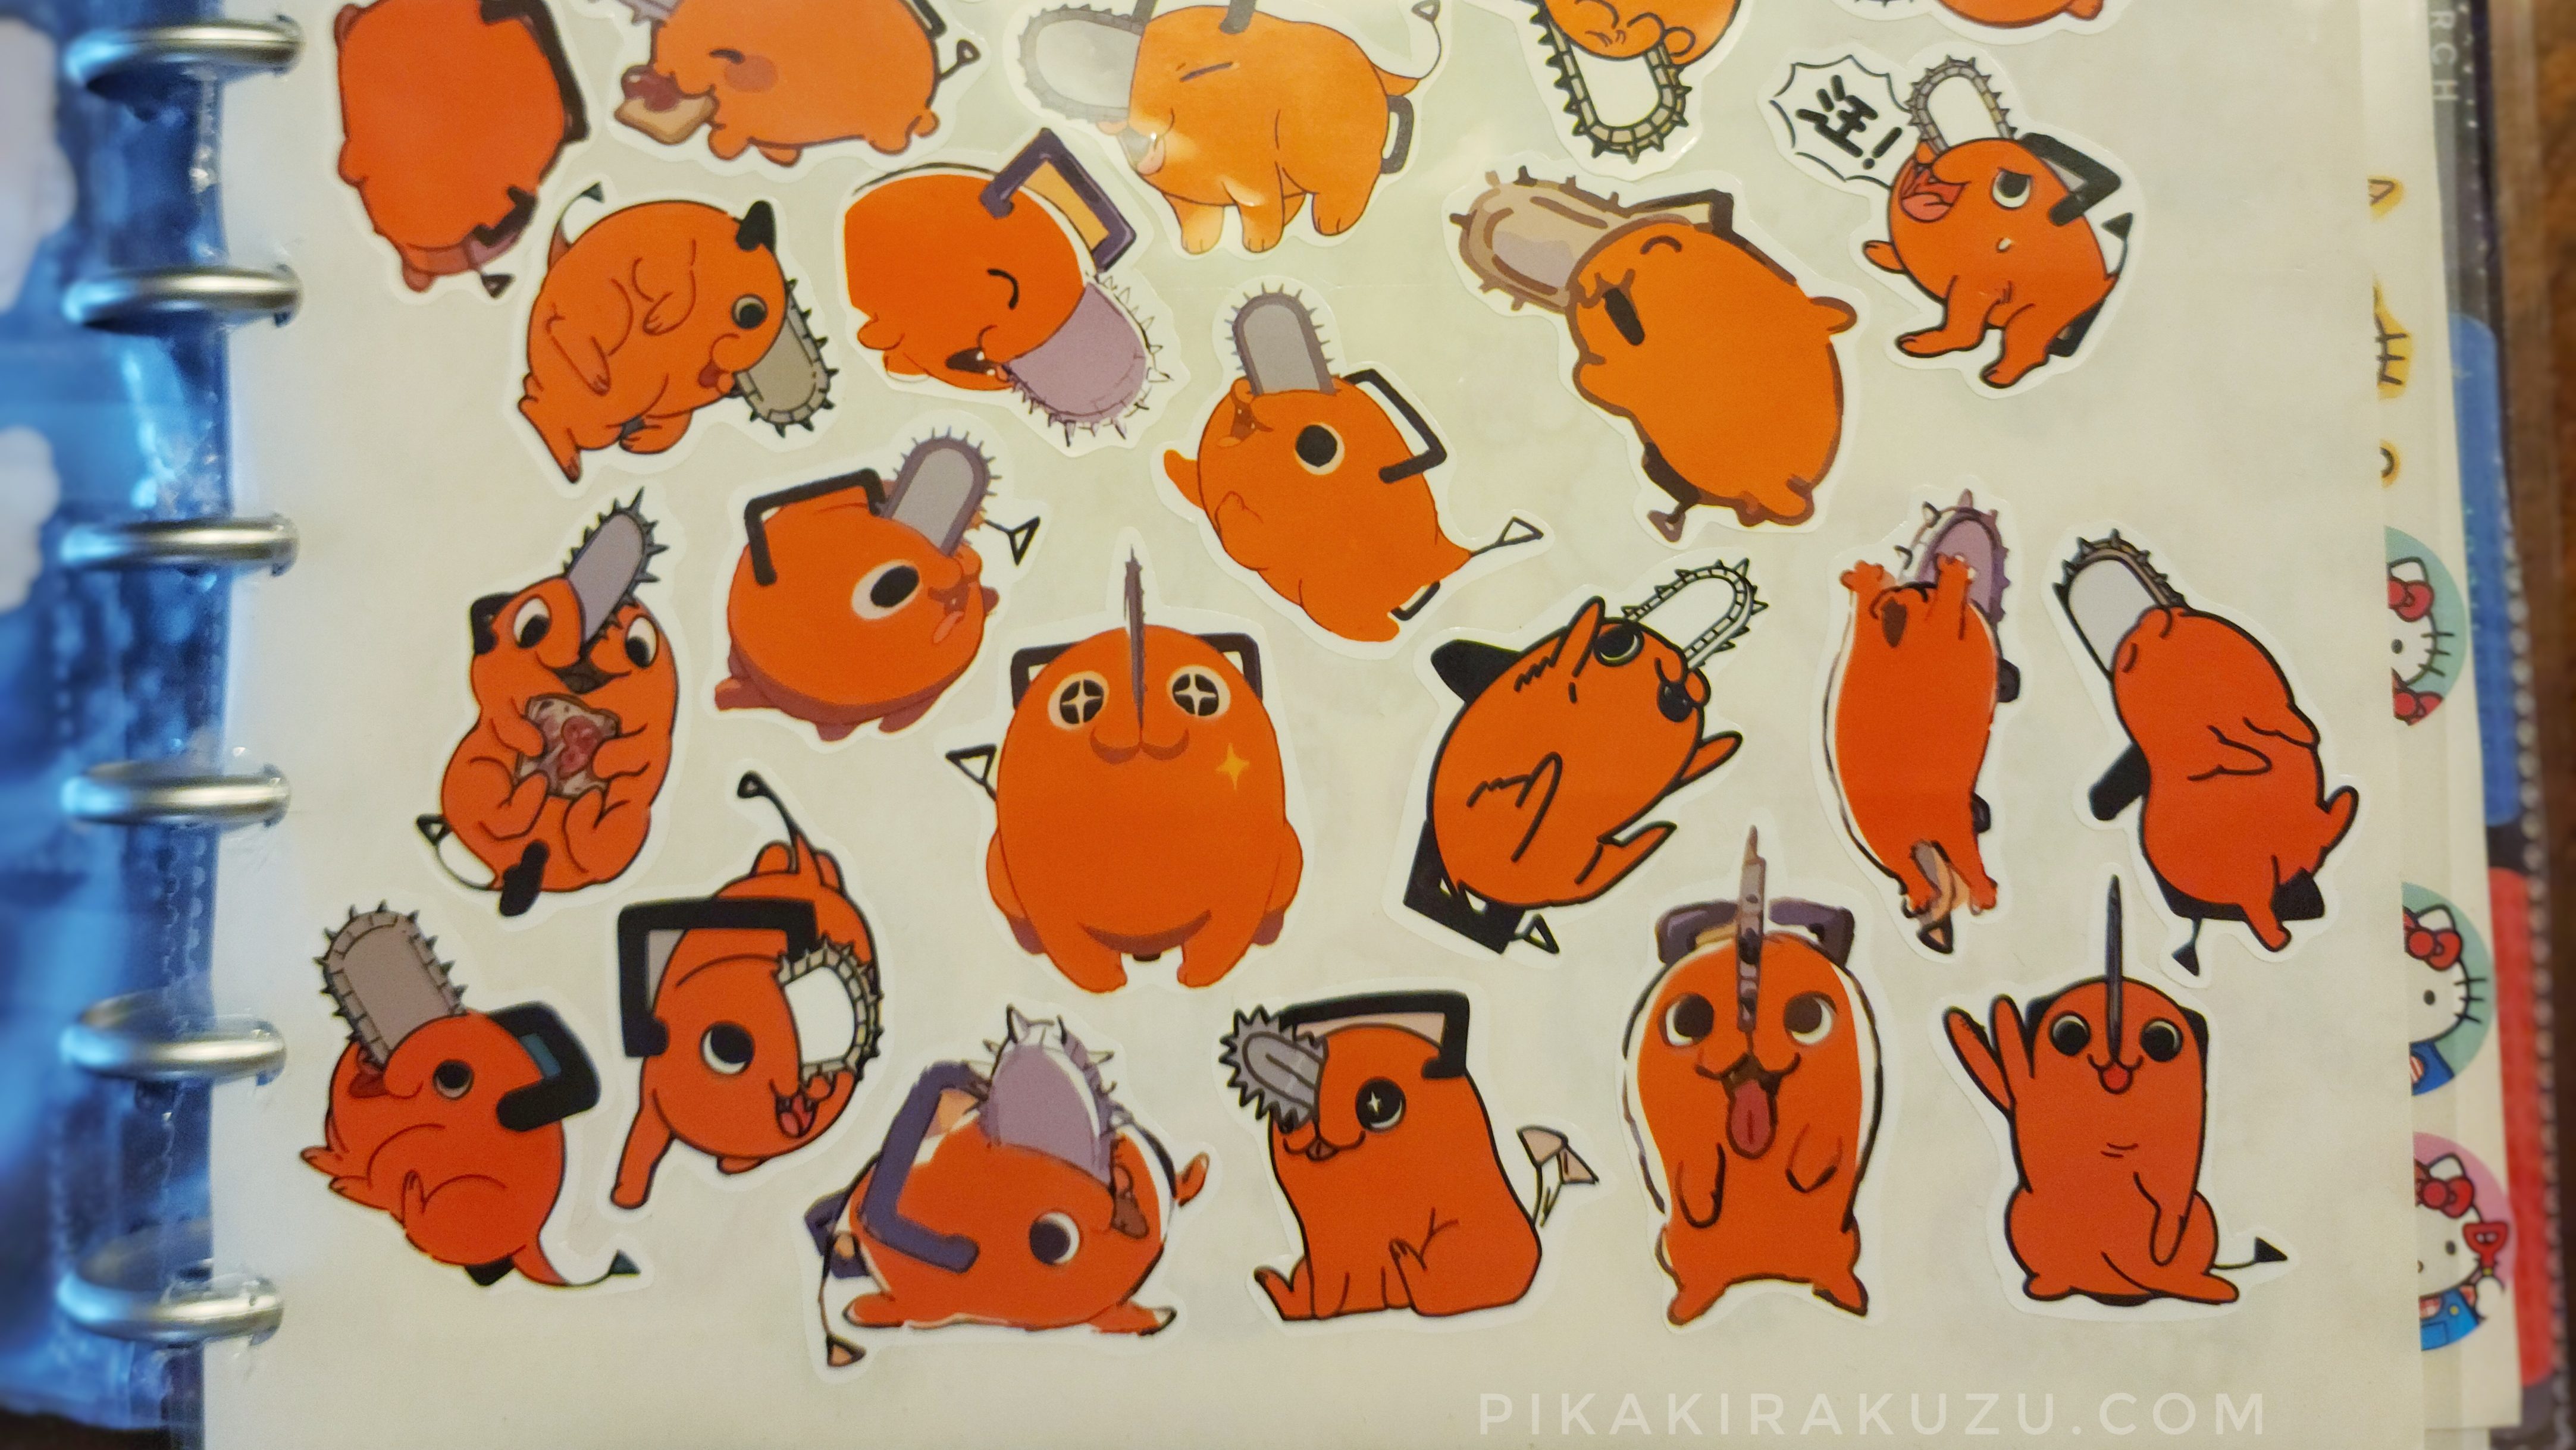
- Stickers!
Optional tools:
- X-acto Knife
- Page Protector (preferably Archival Safe)
Step 1. What is sticker release paper?
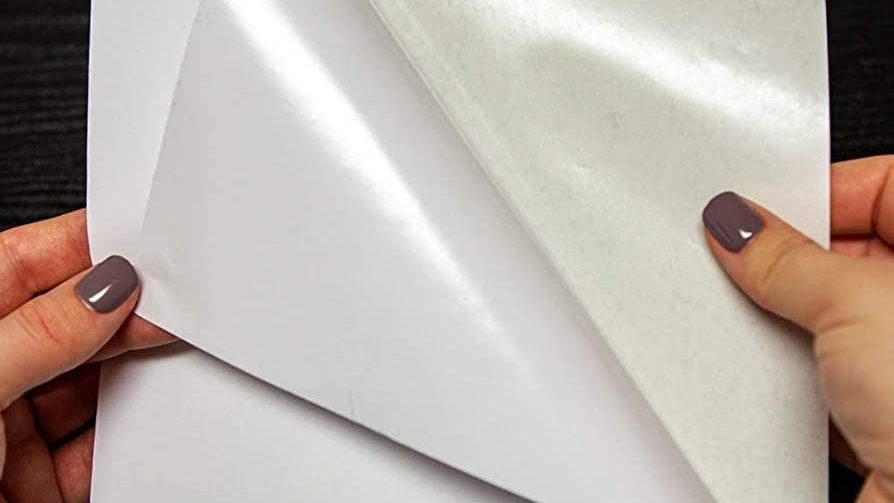
Now you may be asking yourself, what is sticker release paper? Sticker release paper is the wax or silicone coated paper backing that is used by stickers. This type of paper is what most modern day sticker albums use as their pages. Unfortunately, however, This paper by itself can be pretty expensive, sometimes costing a dollar per page. Lucky for us though there are lots of just as good cheaper options! You can use the backing of shipping and return label sheets, which is what I personally use. You can also use the backing of old sticker sheets, but I have found that surprisingly these don’t work as well.
I recommend testing the paper you chose with a sticker of your choosing just to make sure the sheets will stick well.
Step 2. Hole Punch, Punch, Punch!
Now that you have your sticker release paper, it is time to get hole punching! If you are going to put these pages in a existing book, you can take out a page from that book and use that as a guide to match the holes.
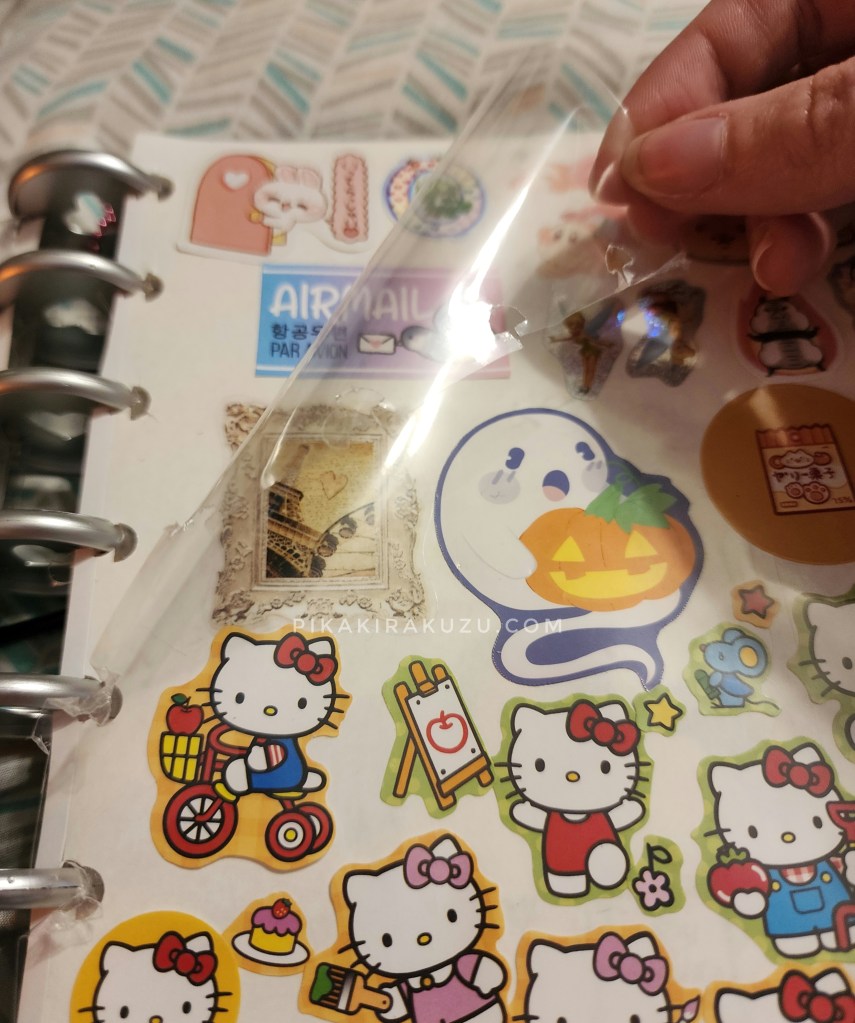
Optional Step: Making protective sleeves.
If you want to up the preservation on your sticker album, you likely want a protective sheet to cover all of your most precious stickers. To do so, you will need a sheet protector. It is better if you use ones that are archival safe and PVC free, but it ultimately up to you. Now, you want to cut the holes of the sheet off, going down in a straight line which will open that side of the sheet. Now if possible, hole punch the protective sheet on the open side. If your hole punch struggles to go through the plastic, you can use a X-acto knife and cut them yourself! Once that is done, the final step is to cut the bottom of the sheet protector off, so now the only part holding it together should be the side with no holes.
How to put the sleeve and page together: Put the paper inside of the sleeve and line up the holes. Place it in the binder without the top plastic piece, creating what is basically a clear plastic door to your sticker sheet. If you are using a ring binder, you can cut the top sheets holes off or cut them so they are open towards the side of the sheet.
Step 3. Time to Stick!
Well that was easy wasn’t it? Now its time to put all the stickers you want on your pages! You can sort them, make a scene or just go crazy!
What if I don’t want to peel my stickers?
So what if you have stickers you really like or are valuable and you don’t want to remove it from its original backing? Well lucky for you, there is another option!
You can also store your stickers in what are called ‘Magnetic photo album pages.’ I personally use these for my vintage and collectible stickers I don’t plan to actually use. These photo album sheets use state cling or mild adhesion to hold paper items into their pages. The downside to this option is that these pages new are expensive, and ones that are cheaper tend to be lower quality and can damage what you put in them. The good news is that these pages are often in thrift shops such as Goodwill and other places, and the older ones tend to have a lower cling which is less likely to damage your sticker!

So there you have it, a quick and easy way to make a sticker album! I hope this article helps and check back soon for more fun articles and guides!
Thank you so much for reading – PikaKiraKuzu.com


Leave a comment